
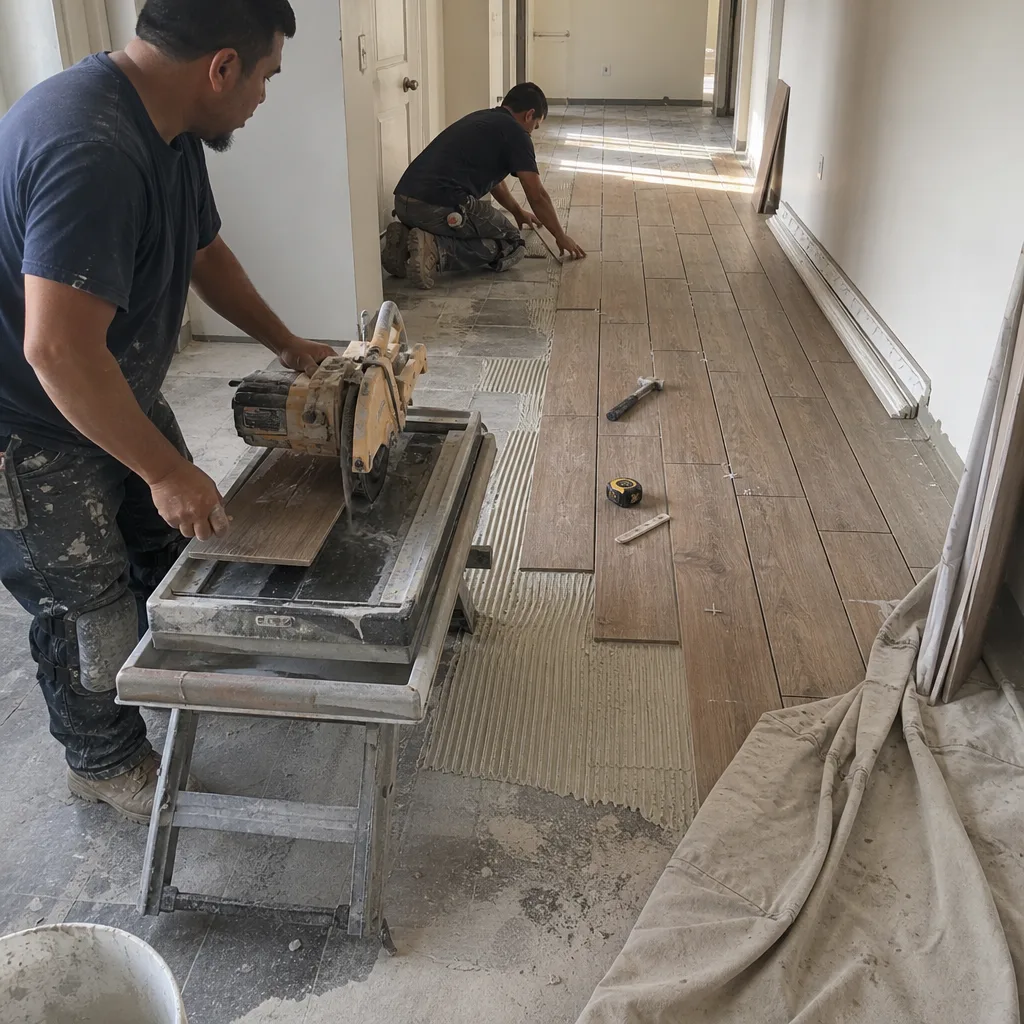
Last updated November 18, 2026
 Hardwood
 Engineered hardwood
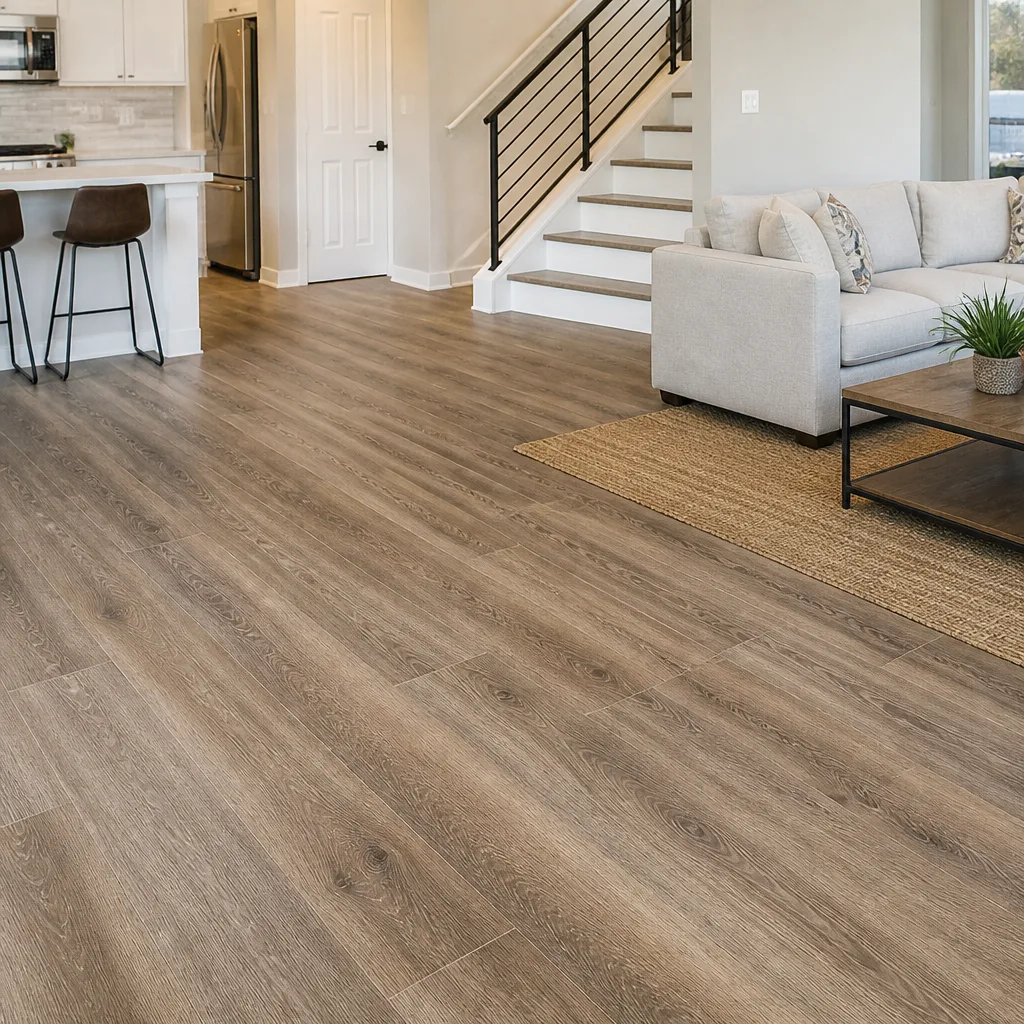 Luxury vinyl plank
 Laminate
 Porcelain tile
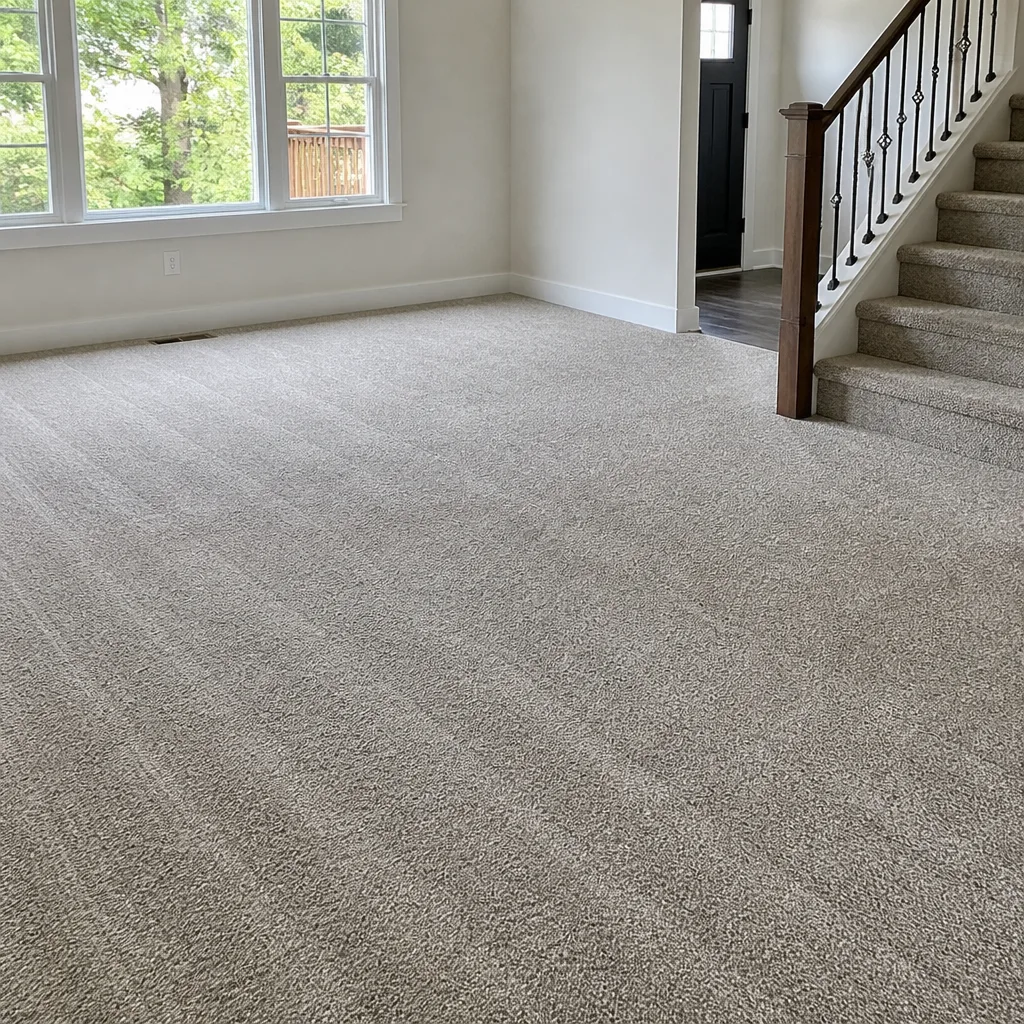 Carpet
 Shaw
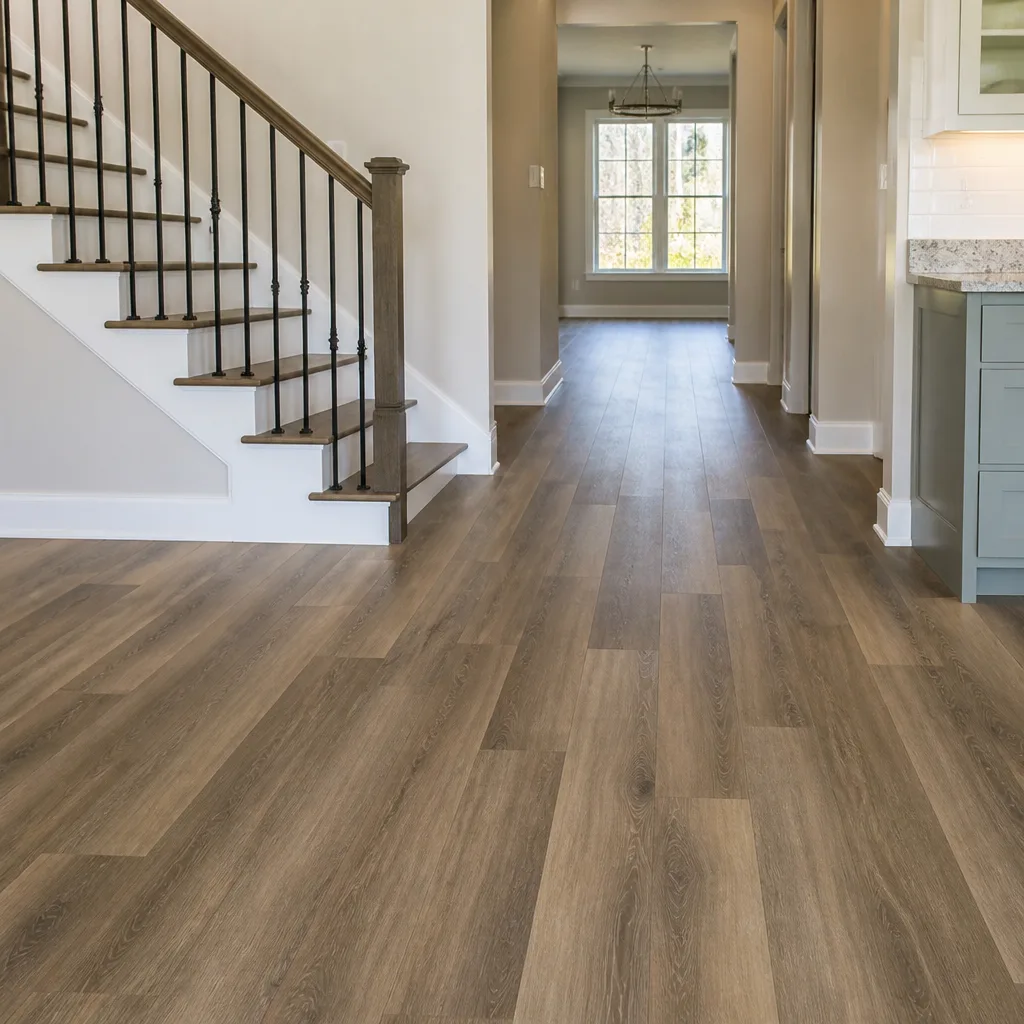 Mohawk
 COREtec
 Pergo
Free in-home measure and written estimate: Shaw, Mohawk, COREtec and Pergo lines compared on your own rooms, with carpet, tile, vinyl plank, laminate and hardwood laid out side by side
Get your free estimateHow to Prepare Your Home for a Flooring Installation in North Las Vegas
Most guides about flooring installation start with the product. Ours starts with the empty living room. Here’s the counterintuitive part: on a lot of jobs, the thing that pushes the schedule isn’t the tile or the hardwood plank. It’s a sectional sofa that never got moved, or baseboards everyone assumed would be handled when the written scope actually said they wouldn’t be. Those aren’t product failures. They’re preparation gaps. We’ve seen how a little homework on the front end keeps a North Las Vegas flooring project moving on the day the crew arrives. This guide walks through the preparation steps that actually affect install quality, from acclimation in desert air to what to do with the dog during an adhesive cure. By the end, you’ll know what’s yours to handle and what’s ours.
Quick Answer
To prepare for a flooring installation in North Las Vegas, clear the room of furniture and fragile items, confirm in writing who moves appliances and baseboards, hold your indoor temperature and humidity steady for 48 to 72 hours before install day if you’re going with hardwood or engineered wood, check the slab for soft spots and moisture, and plan where pets and kids will be during cure and re-occupancy. The single biggest factor is agreeing on scope before the crew shows up. Everything else follows from that.
Styles & brands we work with
- Hardwood
- Engineered hardwood
- Luxury vinyl plank
- Laminate
- Porcelain tile
- Carpet
- Shaw
- Mohawk
- COREtec
- Pergo
Table of Contents
- Who Does What: Getting Scope in Writing
- What Acclimation Really Means in Desert Weather
- Furniture and Appliances: What to Move Yourself
- Baseboards and Door Casings: Undercut or Remove
- The Subfloor Check You Can Do Before the Crew Arrives
- Pets, Kids, and Living Through a Multi-Day Install
- Your Day-Before Checklist
- Common Mistakes to Avoid
Who Does What: Getting Scope in Writing
Scope is the preparation step that decides everything else. On residential flooring jobs, the standard split is that homeowners clear personal belongings, empty closets and cabinets, and move most furniture. Crews typically handle carpet and pad tear-out, the actual installation, and hauling away old flooring material if that’s in the contract. Appliances are murkier. Some installers move a refrigerator or washer and dryer and some won’t, and neither answer is wrong as long as it’s written down before install day.
This is where most day-of confusion starts. Homeowners reasonably assume “we’re having the floors done” means someone will handle the fridge. Crews reasonably assume the fridge is already out. Neither assumption shows up in the estimate unless you ask for it. What we tell North Las Vegas homeowners is simple: read the line items and ask about anything that isn’t listed. The written estimate sets the price, and it also sets the boundary of the work.
Make sure your written scope answers these questions:
- Who moves the refrigerator, washer, dryer, and any built-in appliance?
- Does the quote include tear-out and haul-away of existing flooring, or is that separate?
- Are baseboards and door casings included, and if so, undercut or remove-and-replace?
- Is furniture moving covered, or do you need to clear rooms entirely?
- What happens to the flooring transition strips at doorways?
- Are closet floors in scope, or are closets excluded?
One more piece of scope worth pinning down: which surface category each room falls into. Carpet, tile, and hardwood all have different prep realities. Our flooring North Las Vegas work covers all three under one relationship, so you’re not handing a bedroom to one contractor and a bathroom to another.
What Acclimation Really Means in Desert Weather
Acclimation means letting the flooring material sit in your home at normal living conditions long enough to adjust to your indoor environment before it’s installed. For hardwood and engineered wood, that usually means holding the temperature and humidity steady for 48 to 72 hours beforehand. North Las Vegas is an excellent place to skip this step and regret it afterward. Our summers swing between blistering afternoons and aggressively air-conditioned interiors, and our winters run dry enough that household humidity can look nothing like the outdoor numbers.
Here’s what acclimation is not. It’s not a stack of boxes sitting in a hot garage. It’s not a weekend on the back patio. The point is that the wood sits in the room it will live in, at the temperature and humidity it will actually experience. The desert gap between garage conditions and living-room conditions in North Las Vegas is wide, and a floor that acclimates to your garage will have opinions about your climate-controlled living room.
What the homeowner side of acclimation looks like:
- Confirm with your installer when the material will be delivered and how long it should sit before install.
- Which product instructions apply to your specific floor, since engineered wood and solid hardwood don’t always follow the same schedule.
- Keep the HVAC running at your normal settings throughout the acclimation window, not just during the day.
- Don’t open the boxes and don’t let the material sit on a concrete slab, which transmits moisture.
- Keep the room dry. No baseboard trim against the wall, no washing the walls down, no running a humidifier in that room.
The exact acclimation window depends on product and home, and it’s set by the manufacturer instructions and your written estimate, not by a general rule. Ask at the estimate visit and write it into your calendar. North Las Vegas homeowners who’ve installed wood in a desert climate before will tell you the same thing: the 48 to 72 hour window is worth protecting.
Furniture and Appliances: What to Move Yourself
Assume you’ll move everything. Then confirm what’s actually included, and adjust. That’s the safest starting point, and it avoids a crew arriving to a living room still set up like a showroom.
Personal items almost always fall to the homeowner. That includes small furniture, electronics, lamps, rugs, books, plants, wall art, and anything fragile. Upholstered furniture, mattresses, and anything that could be damaged by fresh adhesives or dust also comes out. Picture frames on shelves come down. Lamps and side tables go where they aren’t in the way.
Large furniture is where the split varies. Sectionals, sleeper sofas, pianos, gun safes, and heavy dressers all need moving, but whether the crew handles them depends on the contract. The honest answer for most residential installs is that big items are yours unless you’ve specifically arranged otherwise.
Appliances deserve their own conversation. Refrigerator, freestanding range, washer, dryer, and dishwasher all need to come out for flooring to go in. Each one has its own complications: gas connections, water lines, drain lines, and where the appliance gets staged while the floor goes in. In kitchens, that means an ice chest and a real plan for food. In laundry rooms, it means disconnecting water and drain before the floor comes up.
A practical furniture plan for a North Las Vegas home flooring project:
- Identify one room that isn’t being floored where large furniture can live for the duration of the install.
- Call a moving service for the refrigerator, piano, or anything you can’t safely lift with two people.
- Label hardware from anything you disassemble. Bags of screws with a marker beat a guess.
- Strip closets completely, including shelves that rest on brackets.
- Clear wall decor, outlet covers, and anything mounted above where trim is going to be handled.
Get this on paper before install day. Our carpet installation quotes spell out furniture scope just like our tile and hardwood quotes do, because the answer is the same category of question no matter what’s going down.
Baseboards and Door Casings: Undercut or Remove
There are two ways to handle trim around a new floor, and picking one affects how your finished baseboards will look and how much patching you’ll do afterward. Undercutting means the installer trims the bottom of the existing baseboard so the new floor slides underneath. Remove-and-replace means the baseboards come off completely, the floor goes down, and new (or reinstalled) baseboards sit on top of the flooring. Each has tradeoffs.
Undercutting is faster and cheaper. No paint, no patching, no hunting for matching baseboard. The finished look is clean, and the baseboard appears to sit right on top of the floor. The downside is that you’re stuck with your current trim, and if the existing baseboard was installed with a caulk line or a gap you didn’t love, you’ll keep it.
Remove-and-replace lets you upgrade the trim at the same time, deal with old paint, or match new casings at the same height. It’s more work and adds cost, but if the baseboards were already due for a refresh, doing both together often makes sense.
Whichever you pick, these are the prep tasks on your side:
- Decide undercut vs. remove-and-replace before the estimate is finalized, and put the decision in writing.
- If removing and replacing, choose and order new baseboard material ahead of install day.
- Empty the room before trim work begins. Trim removal and reinstall both scatter dust and small debris.
- Plan to paint new baseboards after install, not before, since the floor edge covers the bottom line.
- Check door casings separately from baseboards. Casings usually get undercut even when baseboards are removed.
A common callback we see comes from the other direction: homeowners discover after install day that baseboard work wasn’t in the contract and have to schedule a second visit. Better to catch that during the estimate. Tile projects have an extra wrinkle here, because the thickness of tile plus backer changes how much trim has to come off, so undercut or replace gets decided against that final floor height, not the old one. That’s part of why we walk tile flooring installation scope carefully before we quote the work.
The Subfloor Check You Can Do Before the Crew Arrives
Before install day, do a homeowner-level inspection of what’s under the old flooring. You’re not replacing the installer’s assessment. You’re spotting problems early so they can be planned for rather than discovered on the day of.
On a concrete slab, which is common in North Las Vegas homes, the relevant checks are level, sound, and moisture. Level means the floor is roughly flat, without high ridges or low dips that would cause a new floor to rock, squeak, or telegraph the surface above it. Sound means there are no soft spots underfoot and no hollow or spongy patches. Moisture is the one that matters most in a desert home, because it’s the one homeowners least expect. Water can come through a slab from below even in dry weather, and a new floor laid over a wet slab can cup, buckle, or fail. Look for:
- Soft spots that give slightly underfoot, or squeaks that weren’t there a year ago.
- Discoloration, damp patches, or a musty smell near exterior walls and plumbing runs.
- Visible cracks in the slab, especially any wider than a hairline.
- Lifting or curling at the edges of vinyl, laminate, or carpet in neighboring rooms.
- Old water stains from a previous leak, even if the leak was fixed.
You’re not expected to diagnose the subfloor, and we don’t recommend trying. What you can do is note what you see and point it out at the estimate or the day the crew arrives. A suspected moisture issue is worth flagging early because it changes the prep the installer will do, and it can change which products make sense for the room. The subfloor flatness and moisture limits that apply to your project depend on the product and the home, and they’re set by the product instructions and the written estimate.
Speaking of product: if you’re choosing between named brands, it helps to know what you’re specifying. Our lineup includes Daltile for tile and Shaw, Mohawk, COREtec, LifeProof, and Karndean across the categories we install. That’s the selection side of the decision, but the substrate is the side that decides whether the install goes clean. Prep work comes first.
Pets, Kids, and Living Through a Multi-Day Install
Plan for a multi-day install and be pleasantly surprised if it moves faster. Flooring isn’t a one-visit event unless the scope is small. Carpet, tile, and hardwood all have their own sequencing, and adhesive-cured floors need cure time before foot traffic and furniture go back down. Kids and pets change how that timeline plays out, and having a plan before the crew arrives is the difference between a project and a disruption.
For pets, the main concerns are noise, doors, and cure time. Some adhesives and finishes are designed to cure with ventilation, and off-gassing windows vary by product. We won’t tell you what your specific product’s cure or re-occupancy window is from memory, because it depends on the material and the instructions. Ask at the estimate visit and write the answer down. In the meantime:
- Arrange care for pets elsewhere during active installation, especially on adhesive-based products.
- Keep pets off the new floor for the full cure window the product instructions specify.
- Close doors between finished rooms and active rooms. A single wandering cat across wet adhesive is a return visit.
- Set up a pet zone away from doors that will be open all day.
- Confirm a re-occupancy date with the installer after the last adhesive or finish goes down.
For kids, the practical version is the same. Keep them out of active rooms and off new floors during cure. Carpet is typically the most forgiving on re-occupancy, tile is usually walkable as soon as it’s set, and hardwood and engineered wood depend on the finish and adhesive. In a North Las Vegas home where the whole lower level is being redone, that can mean a week of shifted routines. Better to plan it than discover it.
Which surfaces go where often drives the logistics. If you’re redoing bedrooms in carpet and living areas in tile, the rooms you can live in during the install are limited to whatever’s not currently being worked. Sort that out room by room before the crew arrives.
Your Day-Before Checklist
The day before install should feel boring. That’s the point. Here’s the sequence we hand homeowners:
- Rooms cleared completely, including closets and behind doors.
- Furniture staged where the contract says it should be, or moved to a room outside the install area.
- Refrigerator, washer, and dryer emptied and either moved or designated for the crew per the written scope.
- Baseboard and trim decisions confirmed in writing (undercut or remove-and-replace).
- Pets arranged off-site or secured in a closed room.
- HVAC running at normal settings, and if hardwood is going in, acclimation window verified.
- Walk the rooms with the installer on arrival, point out soft spots, and confirm tear-out and haul-away.
- Parking sorted. Install days mean a vehicle and a lot of material, and street access matters.
One note specific to families with kids doing remote school, work-from-home setups, or a home office in the middle of the install: confirm early that the room you’re depending on isn’t on the day-one schedule. Small scheduling surprises add up.
Common Mistakes to Avoid
- Assuming baseboards are included. Homeowners often expect trim work to be part of every install, but it’s only in scope when it’s in the contract. Ask before the estimate is finalized, and if it’s not in scope, budget for it.
- Leaving furniture for the crew. A sectional that wasn’t moved is one of the most common day-of delays. Move what you can, arrange help for what you can’t, and confirm what the crew is expected to handle.
- Treating acclimation as a formality. In North Las Vegas, the gap between garage conditions and living-room conditions is wide. Flooring that acclimates in the wrong room can behave badly after install.
- Skipping the subfloor look-around. Soft spots and damp patches are easier to plan for than to discover. Walk the rooms before install day, and flag anything that concerns you.
- Not planning for cure time. A floor is not finished when the last plank is set. Adhesive and finish cure windows mean rooms stay off-limits longer than most people expect.
- Leaving pets loose on install day. An open door and a curious dog don’t mix. Arrange care before the crew arrives.
- Overlooking logistics for a single day. Kitchens lose their refrigerator; laundry rooms lose the washer. Plan meals and laundry before install day, not during.
See the difference
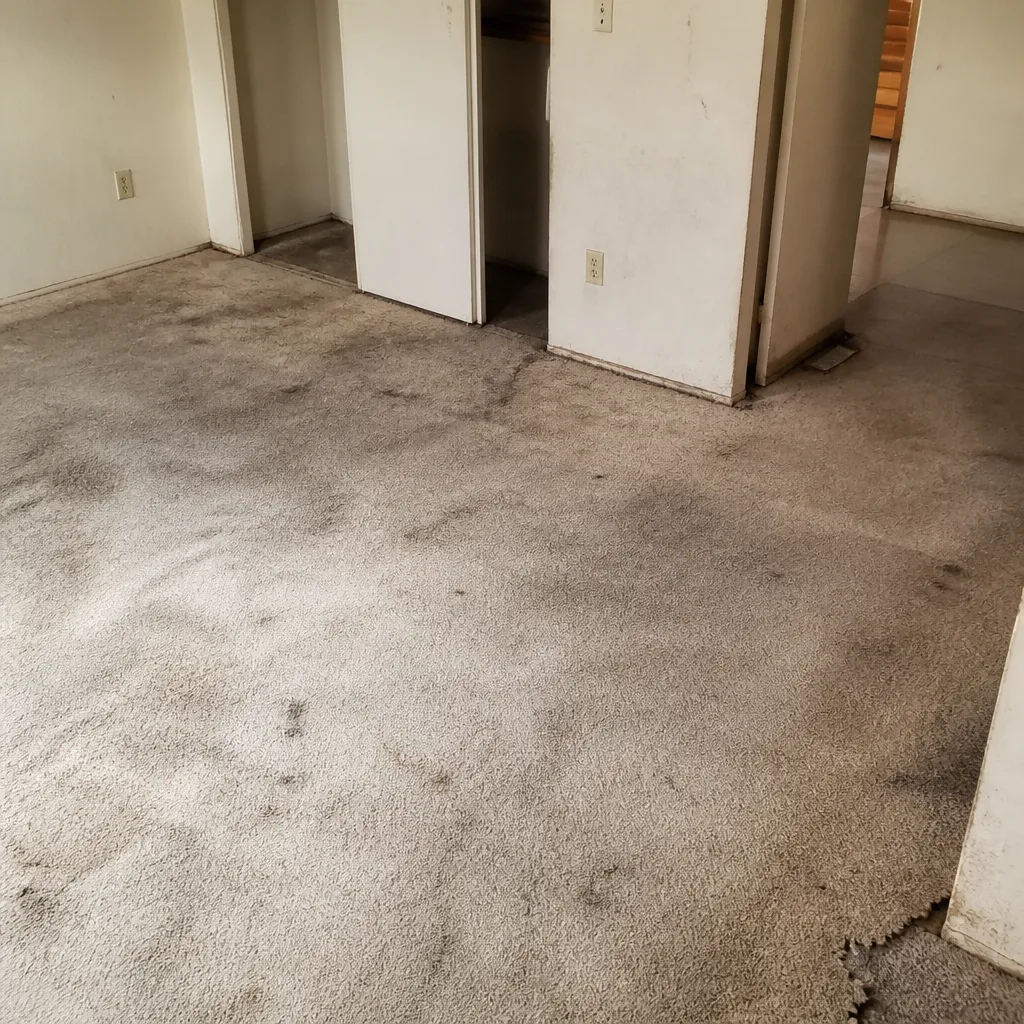 Before
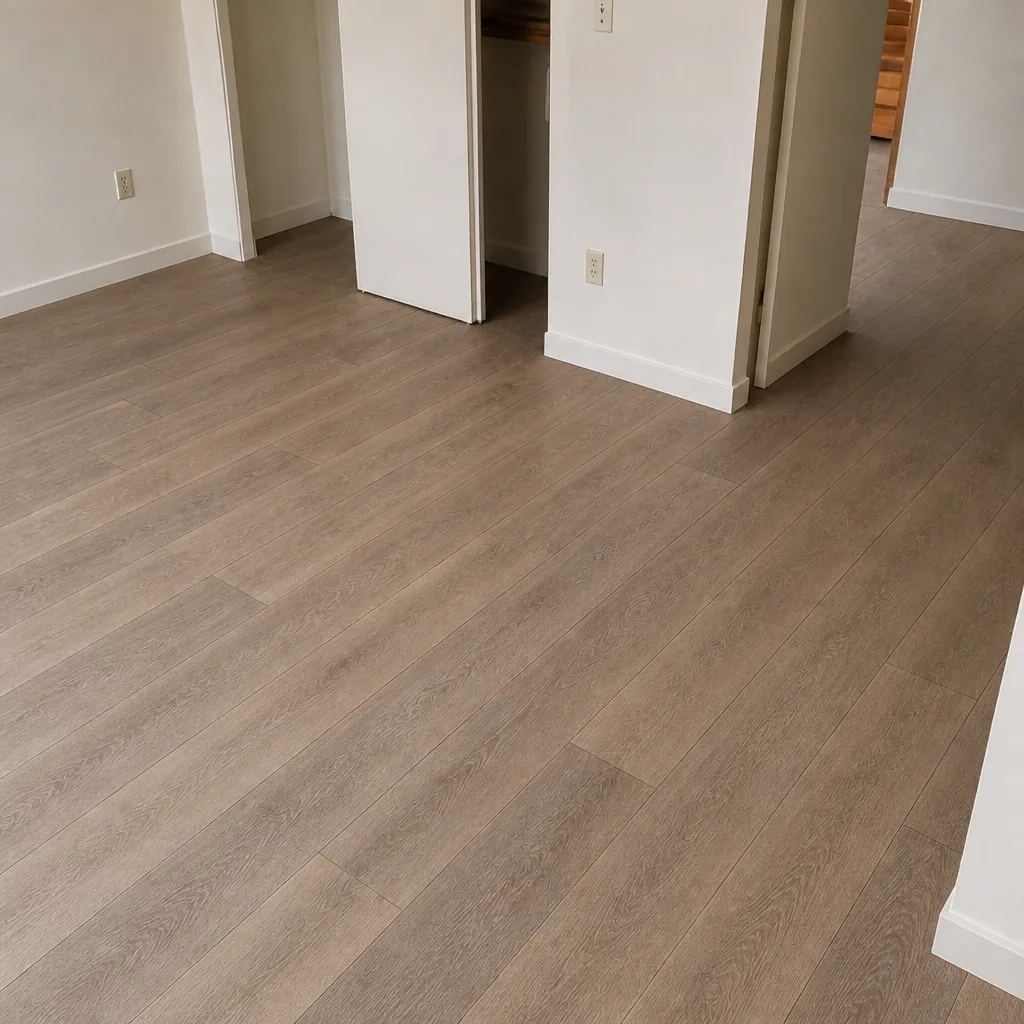 After
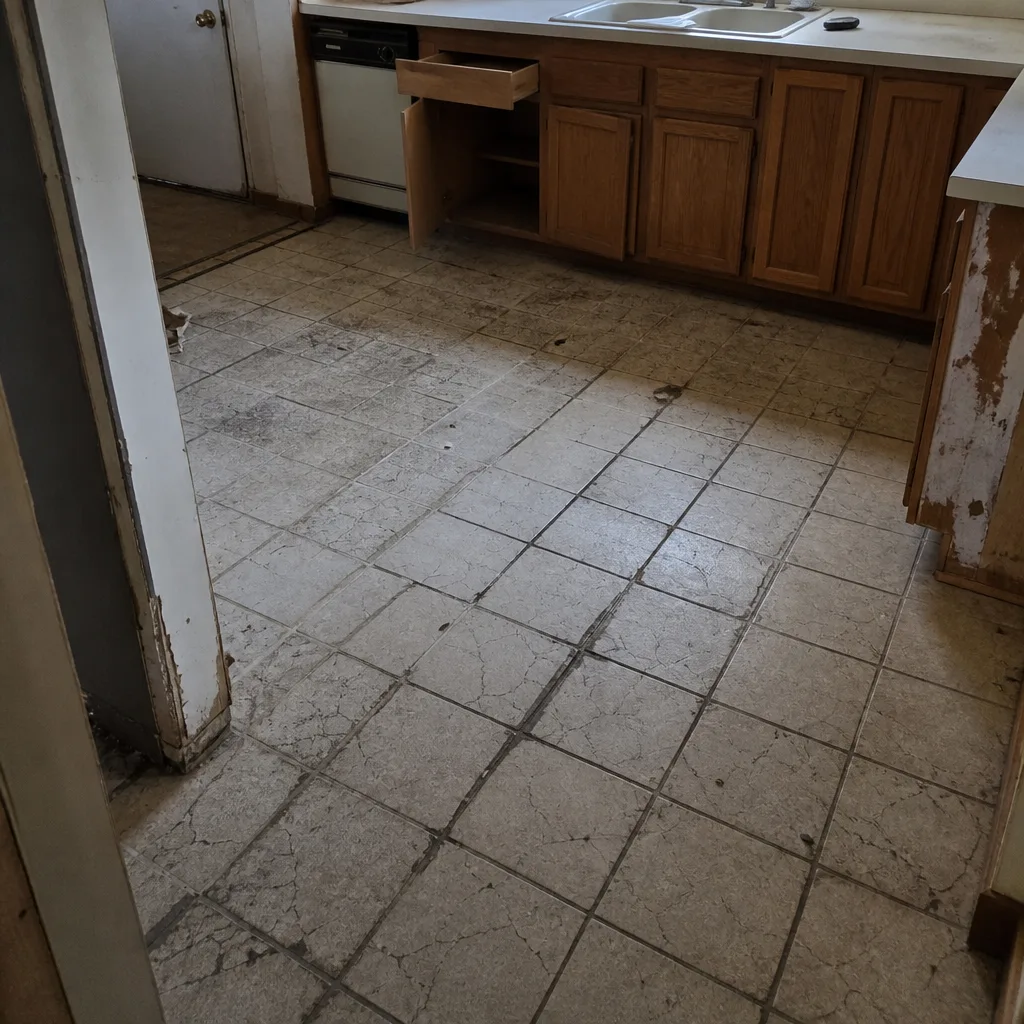 Before
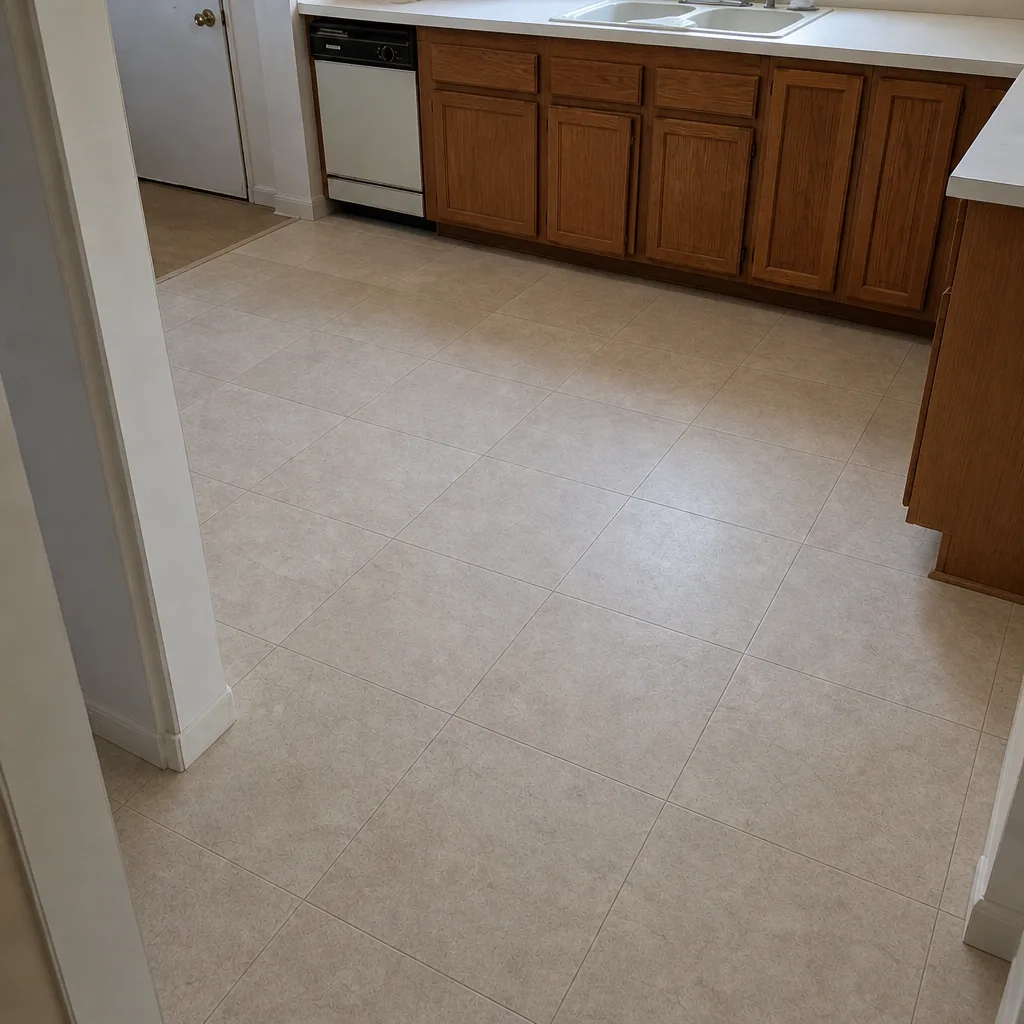 After
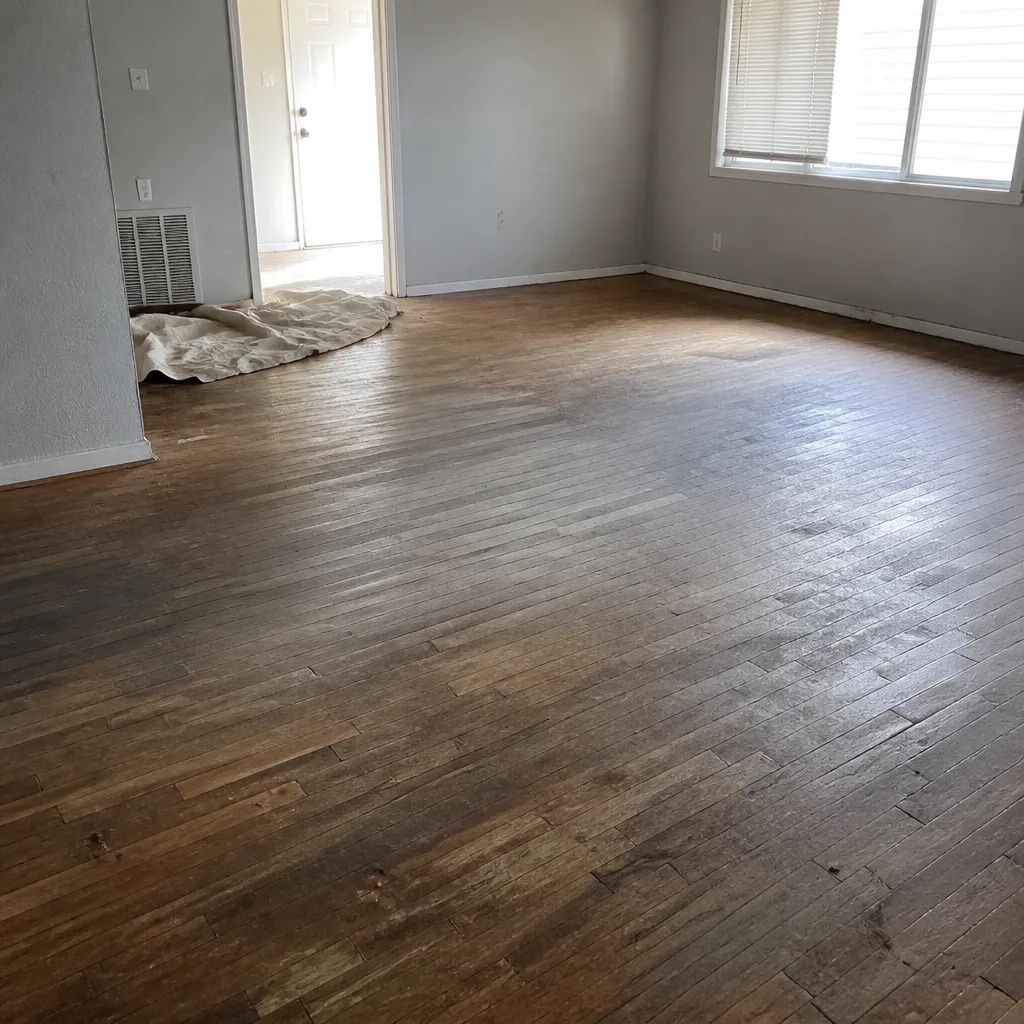 Before
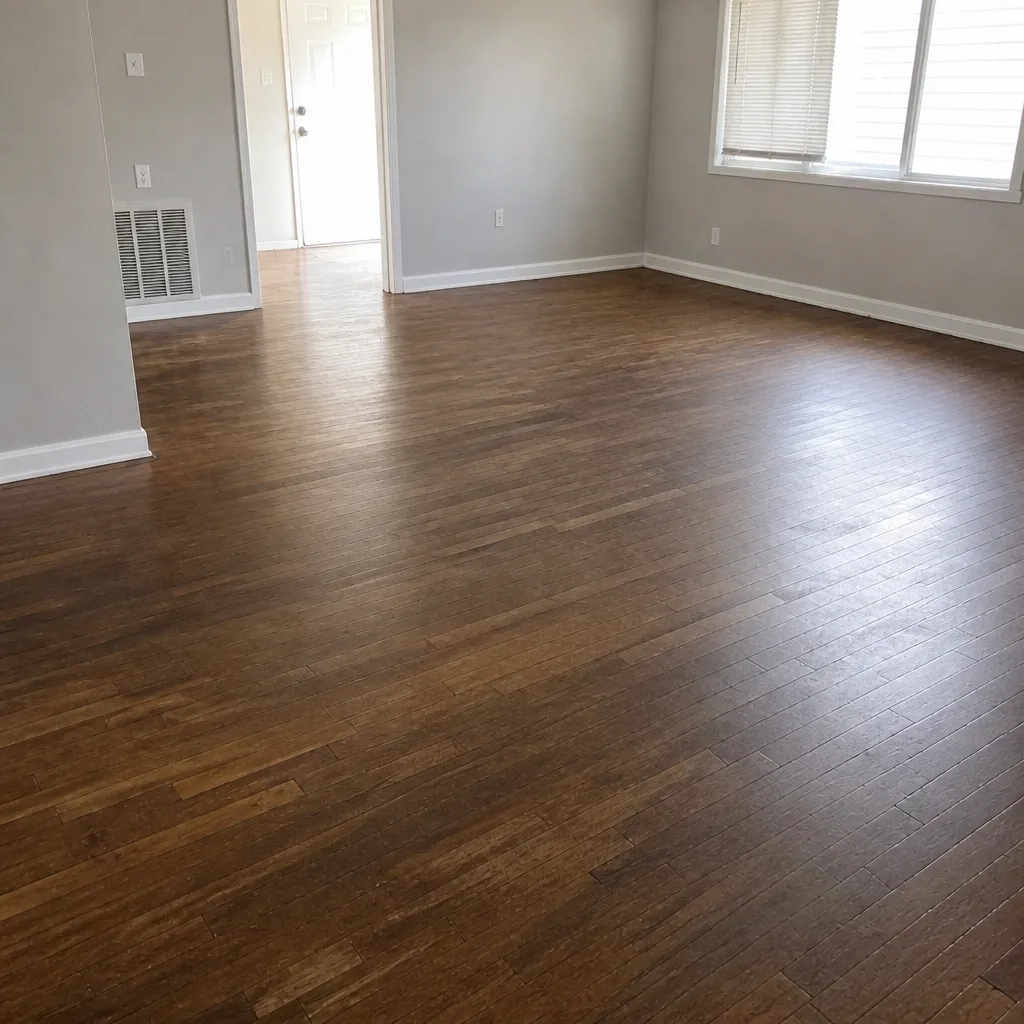 After
When to Call a Professional
Some preparation is yours to handle. Some preparation is a sign you shouldn’t start the project without a specialist looking at it. If you’ve found a soft spot in the subfloor, water stains near a slab or wall, or moisture reading that doesn’t make sense, call us before you go any further. If you’re dealing with a tear-out of tile that was installed over an older floor, or hardwood that might be worth refinishing rather than replacing, that’s a judgment call worth an in-person look. Refinishing is a different skill from installing, and it’s the kind of thing you want someone who does both to weigh in on. Flooring North Las Vegas offers free estimates in North Las Vegas – call (844) 761-9160 to schedule yours. We’ll walk the rooms, look at the subfloor, and put the scope in writing. Our technicians have up to 8 years of experience, and we install and service the floor you choose from the nine brands we carry.
Frequently Asked Questions
We don’t publish a single number because it depends on the surface category, square footage, subfloor condition, and whether tear-out or trim work is included. Pricing is per job, set by the written estimate, and the estimate itself is free. That written number is the final price. Call (844) 761-9160 to schedule your free estimate.
Small furniture and personal items are almost always the homeowner’s responsibility, and large furniture usually is too unless the scope says otherwise. Confirm what’s included in writing before install day, because moving appliances and heavy furniture is the most common source of day-of delay. Call (844) 761-9160 for an estimate that spells out furniture scope.
For hardwood and engineered wood, plan on holding your home’s temperature and humidity steady for 48 to 72 hours before install. The exact window for your floor depends on the product, and the product instructions and written estimate set it. In a desert climate the important part is that the material sits in the room it will be installed in, at real living conditions, not in a hot garage. Call (844) 761-9160 to confirm your acclimation window at the estimate.
Both work. Undercutting is faster and preserves the existing trim. Remove-and-replace takes longer and costs more but lets you refresh baseboards at the same time. The decision needs to be in writing before install day, and your installer will decide based on the final floor height and your trim condition. Call (844) 761-9160 to talk through the options on your estimate.
Usually yes, with some adjustments. Rooms being worked stay off-limits, and new floors stay off-limits until the cure or re-occupancy window the product instructions specify has passed. Plan a schedule per room so you always have somewhere to sleep and eat. Call (844) 761-9160 to talk through timing before you commit.
Flooring replacement usually doesn’t require a permit, but additions, structural changes, and anything touching plumbing or electrical can. Ask your city’s building department about your specific scope before the work starts, and keep the answer with your project paperwork. If you’re not sure whether your scope crosses that line, call (844) 761-9160 and we’ll flag it before the estimate.
The Bottom Line
Preparing for a flooring installation in North Las Vegas comes down to scope, acclimation, and logistics. Get the scope in writing so nobody’s guessing about baseboards, appliances, or furniture. Hold your temperature and humidity steady for the acclimation window on wood floors so the product has the best chance of behaving. Walk the subfloor and flag concerns early. Plan for pets, kids, and cure time. The product matters, and the brands you choose matter. But how the install goes depends on how well the house and the household are ready when the crew arrives. Do those four things and the rest takes care of itself. Call (844) 761-9160, we answer 24/7, and fast dispatch from 7am to 7pm, Sunday through Friday, to book your free estimate.
Written by the team at Flooring North Las Vegas.